Food styling isn’t just about making dishes look good—it’s about telling a story through carefully orchestrated visuals. The Food Network team asked some of their top stylists to share the tricks they rely on to make food stand out both in print and on screen. Their tips blend creativity, technique, and practicality, offering a behind-the-scenes look at how professionals bring flavor to life—visually.
One of the most surprising pieces of advice? Always use the cleanest ice possible. Instead of standard tap water cubes, stylists freeze distilled water in silicone molds to achieve perfectly clear, pristine ice. These transparent cubes photograph far better and avoid the cloudy, dull appearance of regular ice.
To bring life to grilled meats or pastries, a small brush becomes an essential tool. Lightly brushing oil or glaze on steak, cake, or even fruit can add just the right amount of shine, making the dish appear juicy, fresh, and irresistible on camera.
Interestingly, the dishes that look the simplest often present the most difficulty in styling. Burgers, sandwiches, and salads can quickly turn soggy or wilted under hot lights. Stylists approach these foods with extra care—melting cheese is timed to the second, lettuce is spritzed to stay crisp, and buns are gently toasted to hold their structure.
Instead of using real butter or cheese that melts unpredictably, stylists often use substitutes that hold up better under studio conditions. For instance, cheese can be briefly dipped in hot water before being placed on a burger, so it looks melted without actually falling apart. Similarly, scoops of frosting mixed with confectioners’ sugar can mimic ice cream without melting during a long shoot.
A range of tools is used to achieve those seemingly effortless shots. Precision is key, and stylists rely on chopsticks, tweezers, toothpicks, and cotton swabs to make micro-adjustments. These tools allow for detailed positioning of stray noodles, herbs, or toppings that need to be angled just right. A vinegar-and-water spray is another essential—perfect for removing smudges from plates or glassware for a spotless finish.
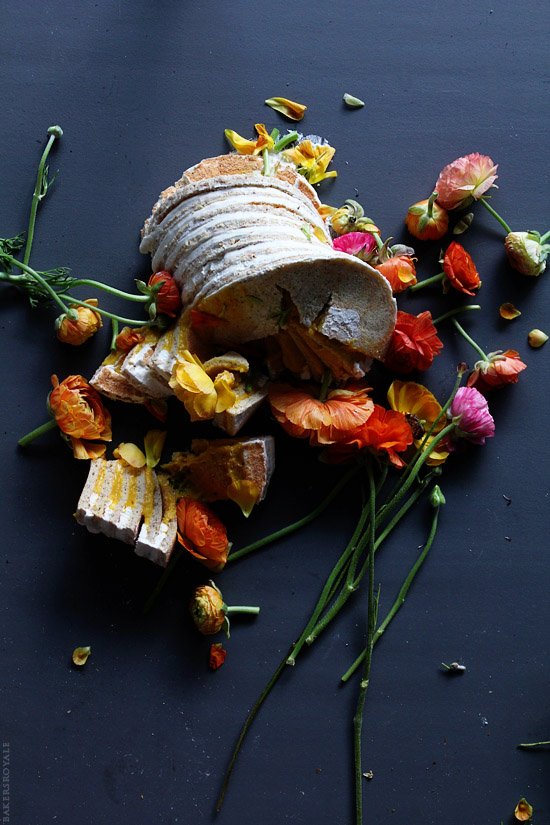
Authenticity is also a top priority. Overly symmetrical or perfectly sliced ingredients can come across as artificial. That’s why stylists embrace natural imperfections—hand-torn bread, slightly uneven frosting, or a casually placed herb give the dish a more relatable, appetizing look. It’s not about perfection; it’s about realism.
Storytelling also plays a major role in food styling. It’s not enough to make the food look delicious—it has to feel part of a moment. Whether it’s a rustic brunch setup, a celebratory cake, or a casual weekday dinner, props and backdrops are carefully chosen to set the tone. Stylists experiment with different surfaces, linens, and utensils to build a cohesive narrative around the dish.
Creating visual depth is another subtle but powerful technique. Rather than keeping everything flat and centered, stylists layer ingredients and props at various heights. Elements might spill slightly over the edge of the plate, or background items might blur into soft focus, helping to bring the shot to life.
However, it’s important to know when to stop. Over-styling can lead to cluttered, confusing images. Professionals often follow a minimalist approach—letting one or two focal points dominate the frame, with enough negative space to keep the viewer’s attention grounded on the food itself.
Despite all these tricks, the food is usually real—and technically edible. Stylists don’t use glue for milk or varnish on poultry. But keep in mind, just because it’s edible doesn’t mean it’s tasty. A pie might be brushed with multiple coats of oil for shine, or a burger may have been handled repeatedly with tweezers. The goal is visual impact, not flavor.
Behind the scenes, stylists are meticulous about ingredient selection and storage. When shopping, they look for produce and proteins that are blemish-free, vibrant, and well-shaped. Once home, herbs and greens are stored in sealed bags to prevent wilting, and meat is kept close to the fridge’s cooling source. These extra steps ensure ingredients look as fresh in front of the camera as they did in the store.
For anyone looking to enhance their own food photography—whether for a blog, social media, or personal projects—these tips offer a powerful starting point. Choose beautiful ingredients, use simple tools to refine placement, let imperfections add charm, and always tell a story. With practice, your food photos can look as mouthwatering as the dishes you serve.
