Capturing food in a visually compelling way is no small feat, especially for bloggers working without access to professional equipment or studio setups. Michael Ray, a veteran food photographer, breaks down what truly matters when it comes to producing blog-worthy images. His philosophy? You don’t need the best gear to create great shots—you just need to understand how to frame, light, and focus with intention.
It’s All About the Angle
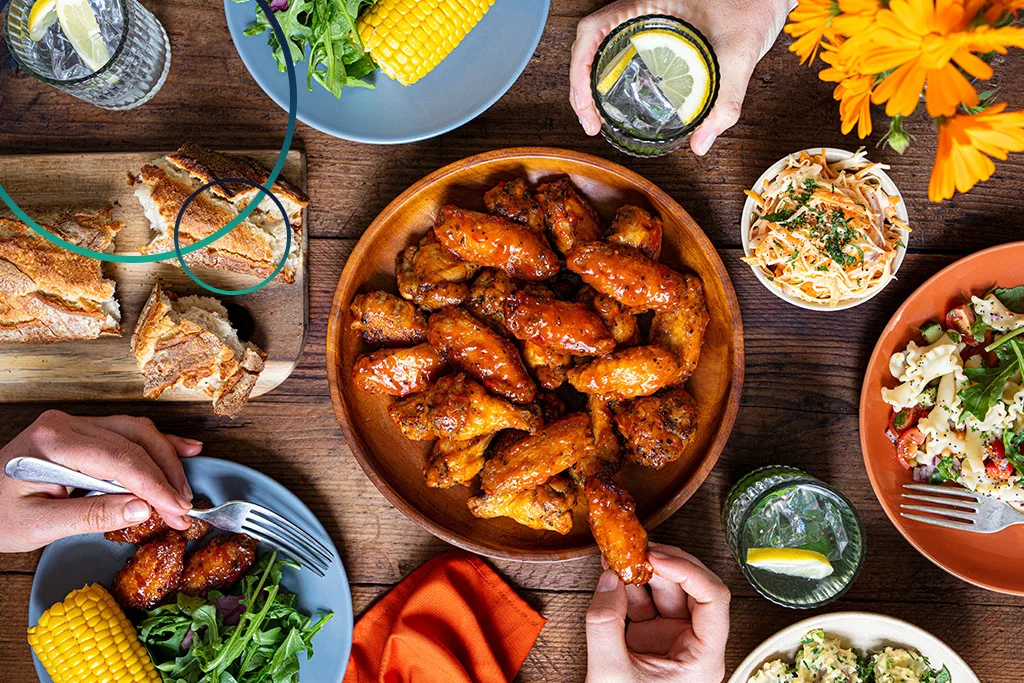
One of the most common mistakes food bloggers make is defaulting to a straight overhead shot. While it’s become something of a standard on social media, this angle often flattens the food and removes any sense of dimension. Ray suggests lowering the camera slightly—still high enough to show the dish clearly, but angled to create depth and visual interest. Somewhere between a top-down and a side view usually does the trick. That way, the photo feels dynamic while still clearly showcasing the food.
Cropping Tighter Is Better
When it comes to framing your subject, Ray encourages tight cropping. The goal is to keep the food as the central focus, eliminating distractions and unnecessary background noise. He also recommends horizontal orientation in most cases—it tends to give the image a more balanced and professional look, especially when viewed on standard screens. Cropping into the food a bit, even if it means cutting off parts of the dish, can actually make the shot more appealing. It creates a sense of abundance and intimacy, pulling the viewer closer.
Focus Where It Matters
Ray emphasizes the importance of selective focus. Using a wide aperture (low f-stop) to blur out the background is one of the easiest ways to give your photo a professional edge. When everything is in focus, the viewer’s eye has nowhere to land. But when only the key part of the dish is sharp—say, the crispy edge of a tart or the glossy surface of a sauce—you direct attention exactly where it needs to go. This creates a sense of drama and clarity that makes the food look more delicious.
Let the Food Lead, Not the Props
Props and plates can enhance a food photo, but only if they support the star of the show. Ray recommends using simple, unadorned plates—those with small rims and minimal decoration. These keep the viewer’s eye on the food itself. As for props, less is more. A spoon, a napkin, or a slice of bread can help complete a scene, but too many objects in the frame dilute the message. Always ask: does this element help tell the story, or is it just visual clutter?
When to Step Back
While tight shots usually deliver the most impact, there are times when a looser composition works better. If you’re shooting a food scene that includes an ambiance—say, a rustic kitchen counter or a sunny outdoor picnic—pulling back a bit can help convey mood and setting. However, even in these wider shots, the food should remain the central element. The environment should support, not distract from, the subject.
Final Thoughts
At the heart of Ray’s advice is the idea that photography should communicate. It’s not just about making something look pretty—it’s about helping the viewer understand what they’re seeing and feel something about it. A well-captured dish should make someone hungry, curious, or inspired to cook. By focusing on camera angle, cropping, focus, and thoughtful use of props, bloggers can dramatically improve the quality of their images—even without studio lighting or expensive lenses.
